

Pullip Customization
Pullip
heads fit the 27cm Obitsu female body soft bust type, while Little Pullip heads
fit the 23cm Obitsu body. We'll talk about customizing Pullip here and talk about
Little Pullip later. Here are the topics:
1) Taking the Pullip head off the stock body
2) Changing doll eyes
3) Attaching the head to the Obitsu body
4) Applying a Parabox wig
<Tools used for this project>
cutting pliers, nipper, small screwdrivers, adhesive agent for plastic materials, electric rotary tool
1) Taking the Pullip head off the stock body
2) Changing doll eyes
3) Attaching the head to the Obitsu body
4) Applying a Parabox wig
<Tools used for this project>
cutting pliers, nipper, small screwdrivers, adhesive agent for plastic materials, electric rotary tool
1)
Taking Pullip's head off the stock body
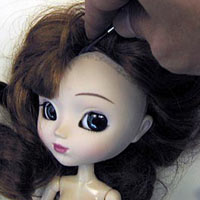
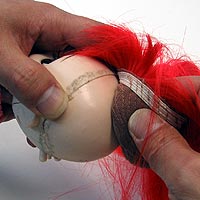
Let's
start with removing her wig. Take your slotted screwdriver and insert slowly between
the head and wig. Once you open up some space in-between, work it around to detach
the wig from the head.
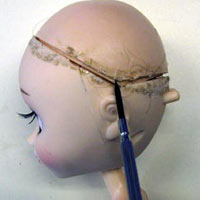
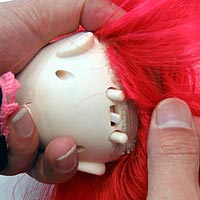
This is the head with the wig off completely.
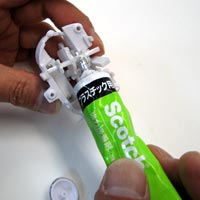
Using the slotted screwdriver, take off the head cap.
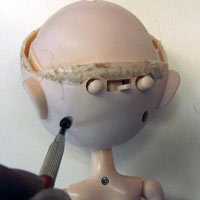
Take
your Philips screwdriver, and remove three screws to take the back part of the
head off.

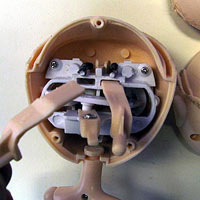
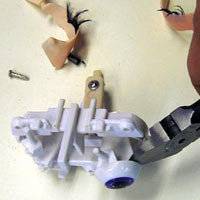
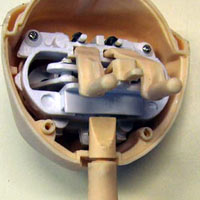
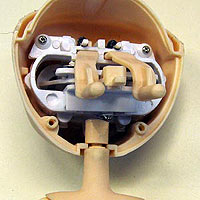
After
taking the back part of the head off, it will look like the picture.
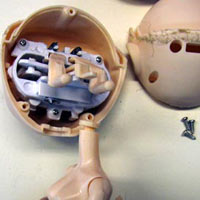
The body now comes off very easily.
If you
don't want to change her eyes, please skip this row.
Slide off the two big parts to move her pupils.
Slide off the two big parts to move her pupils.
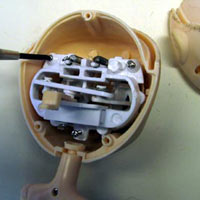
Unscrew three screws.
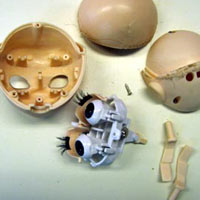
All parts disassembled.
2)
Changing doll eyes
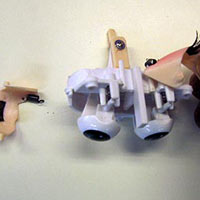
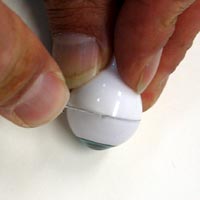
Take
the parts with eyelashes off very slowly. No tools needed.
 >
>Take your nipper and cut off the eyes.
Just keep in mind we need to glue the new
eye to the part we cut with the nipper.
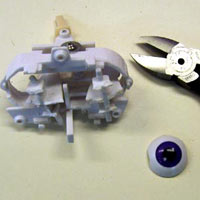
After
the eyes are off, the parts will look like this.
New replacement Acrylic eyes. Using your
utility knife, cut the front part of the eye off. Do this carefully.
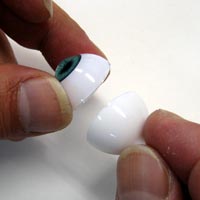
The eye disassembled. The back side of the
eyes are not needed.
Put some adhesive agent for plastic materials
on the area where the stock eyes used to be, and attach the eyes.
When
the glue is dry, assemble by putting all unassembled parts back into the face.
3)
Attaching the head to Obitsu body
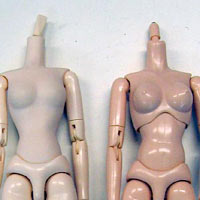
The
normal type (right) and soft bust type (left) come with different neck pegs. The
soft bust type comes with a neck peg that is suitable for Pullip.
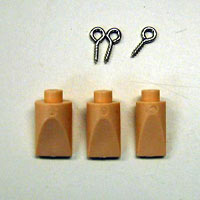 >
>These are the pegs that come with the soft
bust type. We will use the left one (thickest kind) for this project.
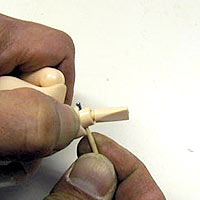
Slide the soft outer portion of the neck
down to expose the hidden pin. Using a tooth pick, push the joint pin out so that
you can take the stock neck peg out.

This
is the picture with the thickest neck peg.
The neck peg inserts in the neck opening
of Pullip head smoothly. However, the top of the peg is too long to touch the
other parts.
So
we cut off the tip of the neck peg by using an electric rotary tool.
4)
Applying a Parabox wig
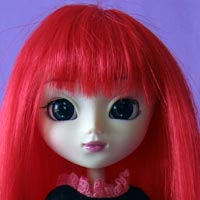
Applying
a new wig is an easy way to customize your doll. In this tutorial we use the Parabox
9 inch straight hair red color wig. Reverse the wig and make it touch the crown
of the head.
 >
>And
reverse it back over the head. The wig will come right above the switches.
Parabox
9 inch wigs
are a little bit of a tight fit on Pullip heads, but no glue needed.


© Parabox Japan - Zai Ltd. All rights reserved.